Showing posts with label beach. Show all posts

Monday, September 30, 2019

Life's a Beach

Sharing another card that I made with the 3D drop in die.
I  also used Corgis2stamp and Stephiedoll2.

As cute as the front is....wait for it.....


WOW!

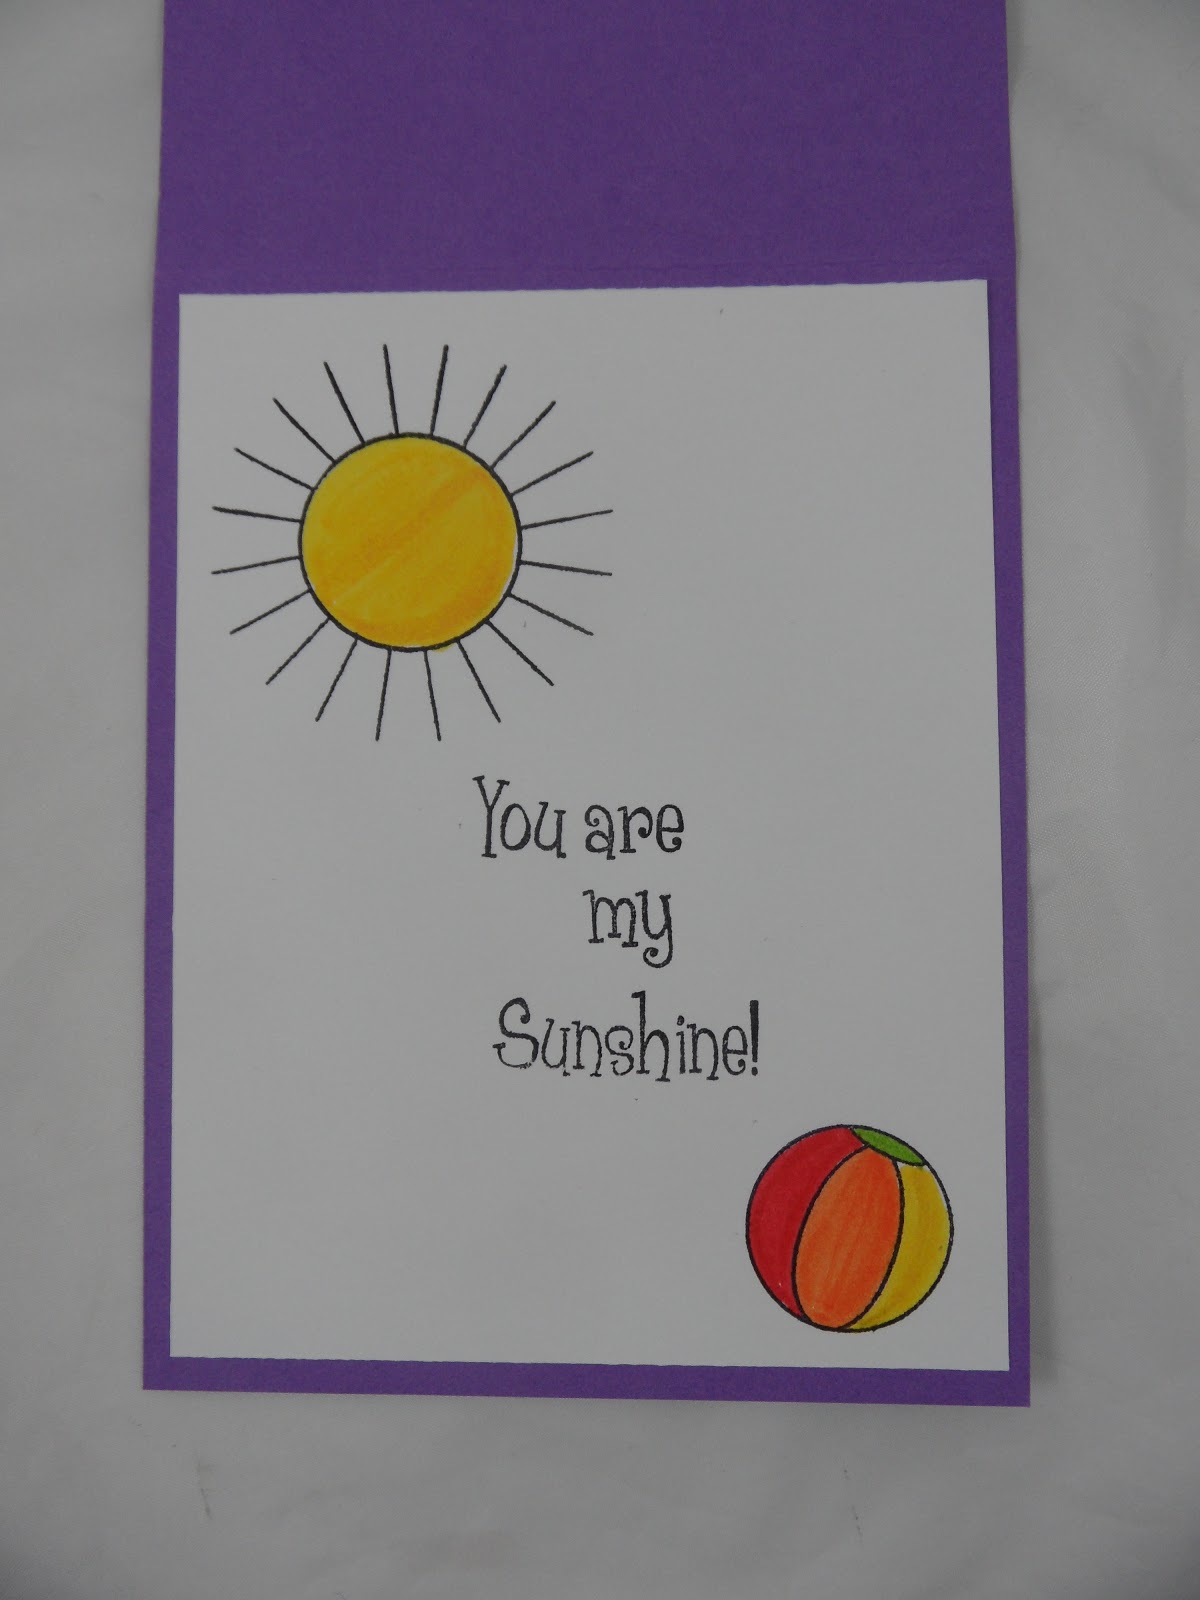
The inside is way more fun!
The surf board and the ball are from the Summer4fun set.


Just think of all the fun things you can create in the inside of your cards.

I just love how creative it makes me look!

Thanks for stopping by!

Kristine


Tuesday, September 24, 2019

Fintastic Step Card

Today I am sharing a card that I made using the new
from The Stamps of Life.

I also used the Dolphin2stamp and shells2stamp sets.


Everyonce in a while you make a card that turns out exactly like you saw it in your head.
This is one of those cards and I love it!

I hope you love it too!

If you don't have a step up die you should get this one for sure!

Thanks for stopping by!

Kristine

Thursday, June 13, 2019

Stephie Doll 2

I have been having so much fun playing with Stephiedoll2.

She is so cute perfect for summer.


I'm not sure why that photo is so washed out.
This one is much sharper!
I paper pieced her bathing suit...it's so cute!

The sky paper is from the Celebrate collection.

I created the sand hills with the Border Dies.

I colored the images with prisma pencils and blended with gamsol and blending stumps.

Thanks for stopping by!

Kristine


Tuesday, June 11, 2019

For Being a Friend


The dies make it so easy to make a spectacular card!


Everything on this card comes with the set. 
The square word sentiment, the card die, and the flowers are all included.

I used my new favorite patterned paper pad, XOXO collection.

There are some really cute samples in the gallery.

Stop by for more inspiration!

Thanks for stopping by!

Kristine

Monday, June 10, 2019

More Stephie Doll

This new Stephiedoll2 set is so much fun to play with!

I just love how all of Stephanie's latest releases are all summer themed and coordinate so well together!

For this sample I paired her with the lighthouse.


I used the Border Dies to create the sand.
I popped up the sun and Stephanie with 3D Foam.


I colored the images with prisma pencils and blended with gamsol and blending stumps.

Make sure you stop by the gallery and check out all the samples in the gallery.

Thanks for stopping by!

Kristine

Friday, June 7, 2019

Center Step Stephie

I am sharing 2 new items that are now available at the Stamps of Life

First is the new center step card die that comes with a bunch of awesome word and flower dies.

I just used the main card base for this card.

The exciting part is the new Stephiedoll2.
She comes with the sun and sand castle.


The surf board and ball are from the summer4fun set.

I made a video on my Instagram showing how I made this card.

Stampwithkristine on Instagram

Thanks for stopping by!

Kristine

Tuesday, April 9, 2019

Lighthouse Scene

Today I am sharing a 5 x 7 Shadow Box Card.
Hopefully, you were lucky enough to get one of these before they sold out on HSN!

If not, you can use this for inspiration for your own card.


I also used:


I finished the back with a sentiment from Sayings4lighthouse.


Someone in need would appreciate a card like this for sure!

Thanks for stopping by!

Kristine

Thursday, February 14, 2019

Hogs and Kisses

I have a fun "Valentine's Day" Card to share today.

I think this cute pig pudgie is perfect for that special someone!


I colored the pig with prisma pencils and blended with gamsol and blending stumps.


Thanks for stopping by to check out my cards!
I appreciate you!

Kristine

Friday, November 2, 2018

Happy Retirement

Stephanie released a new word die this week.

Perfect timing because this is one that I have been needing more and more often lately!

HAPPY RETIREMENT!


This is a beautiful word die and comes with a background die.

Today I paired it with Island2stamp dies.


The Design Team is filling up the gallery with great samples so be sure and check them out

Thanks for stopping by!

Kristine

Tuesday, March 20, 2018

Border Dies in a Box

I am super excited to share this fun Shadow Box card that I made with you today!

I used Flamingos2stamp and the matching dies.

I made it a couple of weeks ago and couldn't wait to share it because I love how it turned out.


The sand were created using the new Border Dies being released today at 
The Water is from the Whale Dies set.


I created the card with the Shadow Box Die.
The clouds and sun are from the Sizzix Triplit Hello Sunshine.


And the best part of this card?
It folds flat and can be mailed in a regular A2 size envelope.

I hope you enjoyed today's inspiration!

Thanks for stopping by!

Kristine


Friday, February 23, 2018

You Are unsinkable

Hello Friends!

I am playing with the new Shadow Box Die again.

It's so fun to create these scenes!


I used this months club stamps and dies:
The water waves are a die from the Whale Die Set


The patterned paper is from the Congratulations paper pad.


I hope you enjoyed today's inspiration.

Thanks for stopping by!

Kristine

Tuesday, July 25, 2017

More fun with new dies

Hello TSOL Fans!
I have a couple of cards to share today using stamps and dies from The Stamps of Life!


I made this card with Island2visit and the new matching dies.


For my second card I used new dies that match the Summer4fun stamp set!

All the balls were colored with Markers.


I did the inside too!


Check out the gallery for lot's of inspiration!!

Thanks for stopping by!

Kristine


Thursday, July 20, 2017

Awesome Die Release!

I just love the 20th of the month because Stephanie releases cool dies from The Stamps of Life!

Today she released two new die sets that match previously released stamp sets.

I made this card with Island2visit and the new matching dies.


And...if that wasn't enough to make you giddy....she also released new dies that match the Summer4fun stamp set!


I used the Basic Step Up Card Die too!

Check out the gallery for lot's of inspiration!!

Thanks for stopping by!

Kristine


Monday, May 22, 2017

Beach Girl

Happy Monday!

I hope your had a great weekend!
The Stampendous team is still celebrating the sea but this week we are celebrating all tha happens above the sea.  

My project features new Pink Your Life Stamps, Whisper Friends Beach Friends perfectly clear stamp set.


I LOVE how this turned out...exactly like it was in my head and that doesn't happen very often!

I stenciled the Waves on light blue cardstock with regular embossing paste.
After it dried I spread embossing paste across the bottom and covered it with Golden Sand embossing powder.  I heated the powder until it melted.

then i cut the top of the panel off trimming close to the waves and adhered it to the card.


I stamped all the images on white cardstock with black ink and colored with Prisma colored pencils.


Here's a couple more fun projects:

Stampendous Blog

Alison Heikkila


Thanks so much for stopping by!

Kristine

Monday, March 27, 2017

Set Sail

I am so ready for Summer!

We keep getting little hints of it which gets me more excited!
This card reminds me of some of what I love about the summer...beautiful skylines, the Ocean breeze, being on the water.

Today I have a little summery hint of what's coming from Stampendous.
This card was created using a brand new stamp set that will be released in April!

I colored the image with Prisma colored pencils.

And that fun sand was created with Golden Sand Embossing Powder.


The whole team is sharing their favorite new stamps this week.


Check out the Stampendous Blog for more sneak peeks!

Thanks for stopping by!

Kristine


Friday, June 3, 2016

Mermaid Kisses

I am finishing off the week with my final card using the Beach 5-jar embossing kit from Stampendous.


The image is Mermaid Friends.


What did I use?
Stampendous:
CRS5088 Pearl Mermaid
SSC1246 Ocean Wisdom Perfectly Clear Stamps
SSH57 Jumbo Perfectly Clear™ Acrylic Handle
MEM01 Memento™ Tuxedo Black Ink by Tsukineko®
VM001 VersaMark™ WatermarkInk by Tsukineko®
MPW811 Mixed Media White Paper
DCP1005 Fitted Frames A
MG10 Teal Micro Glitter
EP211 Golden Sand Embossing Powder
Plus:
My Colors Cardstock by My Minds Eye® (Spearmint, mandarin & Caribbean Sea)
TombowUSA recycled colored pencils
Palette™  Stamp & Stick Glue Pad®
Scrapbook Adhesive 3D Foam squares
Zip Dry™ Paper Glue by Beacon Adhesives


How Did I Make it?
1. Fold a 11" x 4 1/4" piece of Tropical Splash cardstock in half to create the card base.
2. Lay the bubble stencil over a 4" x 5 1/4" panel of Spearmint cardstock
3. sponge the stamp and stick glue over the stencil
4. Remove the stencil and cover the glue with teal micro glitter and allow it to dry
5.Adhere panel to card base
6. Apply Versa Mark ink to the bottom portion of the card and then heat emboss the golden sand embossing powder until melted
7. Stamp the mermaid, the shell, and the turtle on white cardstock, color with pencils and die cut
8. adhere the turtle to the card with paper glue
9. Adhere the shell and mermaid to the card with 3D foam squares
10. Stamp the sentiment on a white die cut panel and back with a larger die cut mandarin panel before adhering to the card with 3D foam squares.


Check out more great projects:
Thanks for stopping by
Have a great weekend!

Thursday, June 2, 2016

Deeper than the Ocean

The Stampendous team is having fun playing with the new Beach 5-jar Embossing Kit all week!


Here is a fun beachy card that I created.


What Did I Use?
Stampendous:
SSC1246 Ocean Wisdom Perfectly Clear Stamps
DWLL379 Tall Palm Tree Stencil
DWDGWP Glossy White Embossing Paste
DWDPK Dreamweaver Palette Knife
DWLM2010 Paste Spreader
SSH57 Jumbo Perfectly Clear™ Acrylic Handle
MEM01 Memento™ Tuxedo Black Ink by Tsukineko®
MPW811 Mixed Media White Paper
DCP1005 Fitted Frame A
EK22 Beach Embossing Kit
Plus:
My Colors Cardstock by My Minds Eye® (Mandarin, Banana Pepper, Sky)
EK Success scallop edge die
Colorbox Chalk ink (Rose Coral, Yellow Citrus, Wisteria, Blue Lagoon)
Buttons Galore Buttons
American Crafts Twine
Zip Dry™ Paper Glue by Beacon Adhesives


Directions:
1. Fold an 11" x 4 1/4 " piece of Sky cardstock in half to create card base
2.Adhere a 4" x 5 1/4" piece of Banana Pepper cardstock to the card
3. Punch the border on the edge of a 3" by 5 1/4" piece of Mandarin cardstock and then adhere to the card
4. Stencil the trees on a white strip of cardstock with glossy embossing paste and allow to dry
5. When dry, sprinkle the blue embossing powders from the kit on the bottom of the strip and heat from underneath to melt
6.Sponge chalk inks on cardstock to create the sunset. (wipe excess off of trees with a damp wipe)
7. Tie twine through buttons and adhere to card
8 Stamp sentiment on a die cut panel and then adhere to card.


Check out more beach inspiration on these blogs:
Thanks for stopping by!

Monday, May 30, 2016

At the Beach

We are heading to the beach this week!

The Stampendous team will be sharing projects that we made using the Beach 5-jar embossing kit.
This embossing kit is perect for creating all your fun summer cards!

Here is my first one that I made using the Painting with Powder technique that you can find on page 92 of Fran's amazing book


What Did I use?


Plus:
My Colors Cardstock by My Minds Eye® (Sandy Beach, Sky, Poolside)
Adirondack®  Aqua Ink
Recollections®  Gold Brads
Heat Tool
Zip Dry™ Paper Glue by Beacon Adhesives

-
 Fold an 8 1/2" x 5 1/2" piece of Sandy Beach cardstock in half
- Adhere a 2 1/2" x 4 1/4" piece of Poolside cardstock on to the left side of the card.
- Cut a 3 3/4" x 5" panel of white cardstock.
- Apply VersaMark directly to the panel and heat emboss the various embossing powders to create the ocean scene.

-Stencil the Sandcastle stencil over the scene with regular embossing paste and then cover with Golden Sand embossing powder from the kit and heat emboss to melt


 Remove stencil


Using the Picasso Shield, sponge the Aqua ink on the top portion of the panel to create clouds


Stamp the sentiment, color the flags and complete the card!


Check out the Stampendous Blog for links to more projects and to see a fabulous video that demonstrates this fun technique!

Thanks for stopping by!
Kristine