Showing posts with label rubber stamping. Show all posts

Saturday, October 1, 2016

Run Run as fast as you can...

You can't catch me....I'm the Gingerbread Man!

Well...actually if you hurry you can catch him...and his girlfriend too!

The Stamps of Life just released two adorable new Gingerbread stamp sets.

Here is a card I made with the Gingerbread2stamp.] and the Large Circle flip it card die.


Here is the inside when you "flip it".


This cute new girlgingerbread2stamp set is on special FLASH SALE for 24 hours too!


Here is a close up of this cutie!


All the supplies for these cards can be found at The Stamps of Life!

Happy Shopping!

Kristine

Thursday, July 7, 2016

Fun new TSOL Stamps!

Stephanie is at it again releasing more adorable stamps from 

I just love the cute images she released this month.

This card uses the new Dinos2stamp and matching die set.

I also used the step up card die.


This card was made with the new Hedgehog2stamptwo set.
The original Hedgehogs2stamp set is so cute and this set just adds even more cuteness!


I colored all the colored images with colored pencils and blended with blending stumps and gamsol.


I am just LOVING the new stamps released this month.

As always...go check out the gallery for great samples with all of Stephanie's products!

Thanks for stopping by!

Kristine

Wednesday, June 15, 2016

Cupcake Cards

Happy Wednesday!

I hope that your week is going well so far!

I haven't had much time in stamp room lately but I have a couple of cards to share that I made for The Stamps of Life's latest release of fun cupcake stamps!


These stamps are called Stamps4cupcaketriplet and they perfectly fit the Cupcake Triplet Dies.


All the paper and supplies that I used on these cards are available from

These stamps are perfect for creating those last minute birthday cards so you'll want to go get them to add to your stash!

Thanks for stopping by!

Kristine

Friday, May 27, 2016

A Million Little Things

Today I have the perfect card to start off the three day weekend.
I am sure that many of us will be spending some time at the beach like this adorable Mouse!

Stampendous has a bunch of terrific summer House Mouse Design images available for your summer stamping fun!

This is 


What Did I Use?


How Did I Make it?
Directions:
1. Fold an 11" x 5 1/2" panel of Caribbean Sea Cardstock in half to create a 5 1/2" square card
2. Adhere a 5 1/4" square panel of white cardstock to the card
3. Adhere a 5 1/4" x 3" panel of patterned paper to the card
4. Stamp image on a white die cut panel and color with pencils
5. Back image panel with a slightly larger die cut panel of colored cork and adhere to card
6. Stamp sentiment on a white die cut panel and then back with a larger die cut panel before adhering to card
7. Install brads


For more links to more "Mice" cards check out these blogs:
Kristine Reynolds (your are here!!!)
Lea Fritts (Thursday Post)

Thanks for stopping by!

Kristine

Sunday, April 24, 2016

Can't Thank You Enough

I am loving this months Creative Cafe' Card Kit of the Month!  

This months kit is called. Petticoat Fashion.  It includes a 6 x 6 pack of Echo Park Petticoats and Pinstripes, a bunch of beautiful cardstock, a fun embossing folder, and lots of luscious ribbon.

For my first card using this kit I decided to make a fun fold card...I know...you're shocked, right???


To create this card start with a 7 1/2" x 5 1/2" piece of cardstock.
I scored on the solid vertical lines and cut on the horizontal dashed lines.


When it folds up it looks like this.


I cut patterned paper panels to fit each of the portions of the card and then adhered it to the card with Scrap Happy Glue.

I stamped hello with Love Letter Memento dye ink.


Here's another view of the card when it's folded.


I stamped the Thank You sentiment with Bamboo Memento Dye ink and the other sentiment with Love Letter ink.

I stamped the small flower with Tangelo and Dandelion Memento dye ink.
The larger flower was stamped with Angel Pink, Rose Bud, and Love Letter ink.
Cut the flowers out and add to the card with 3D Foam.


I just love how this card turned out...not sure how I'll top this one but I'll try!

I hope you will give it a try.  

It's easier than it might look and you will love the results!


Supplies:

Stamps: The Rubber Cafe'- Petticoat Fashion Hello, World

Paper: The Rubber Cafe' KOTM--Echo Park Petticoats and Bazzill cardstock
Ink:  Memento Love Letters, Angel Pink, Dandelion,Tangelo, Rose Bud, and Bamboo dye ink 
Adhesives: Foam tape; The Rubber Cafe'-Scrap Happy Glue

Friday, February 26, 2016

More Mushrooms


Today is the last day of the fun Eileen Hull Sizzix dies and Stampendous Mushrooms hop.

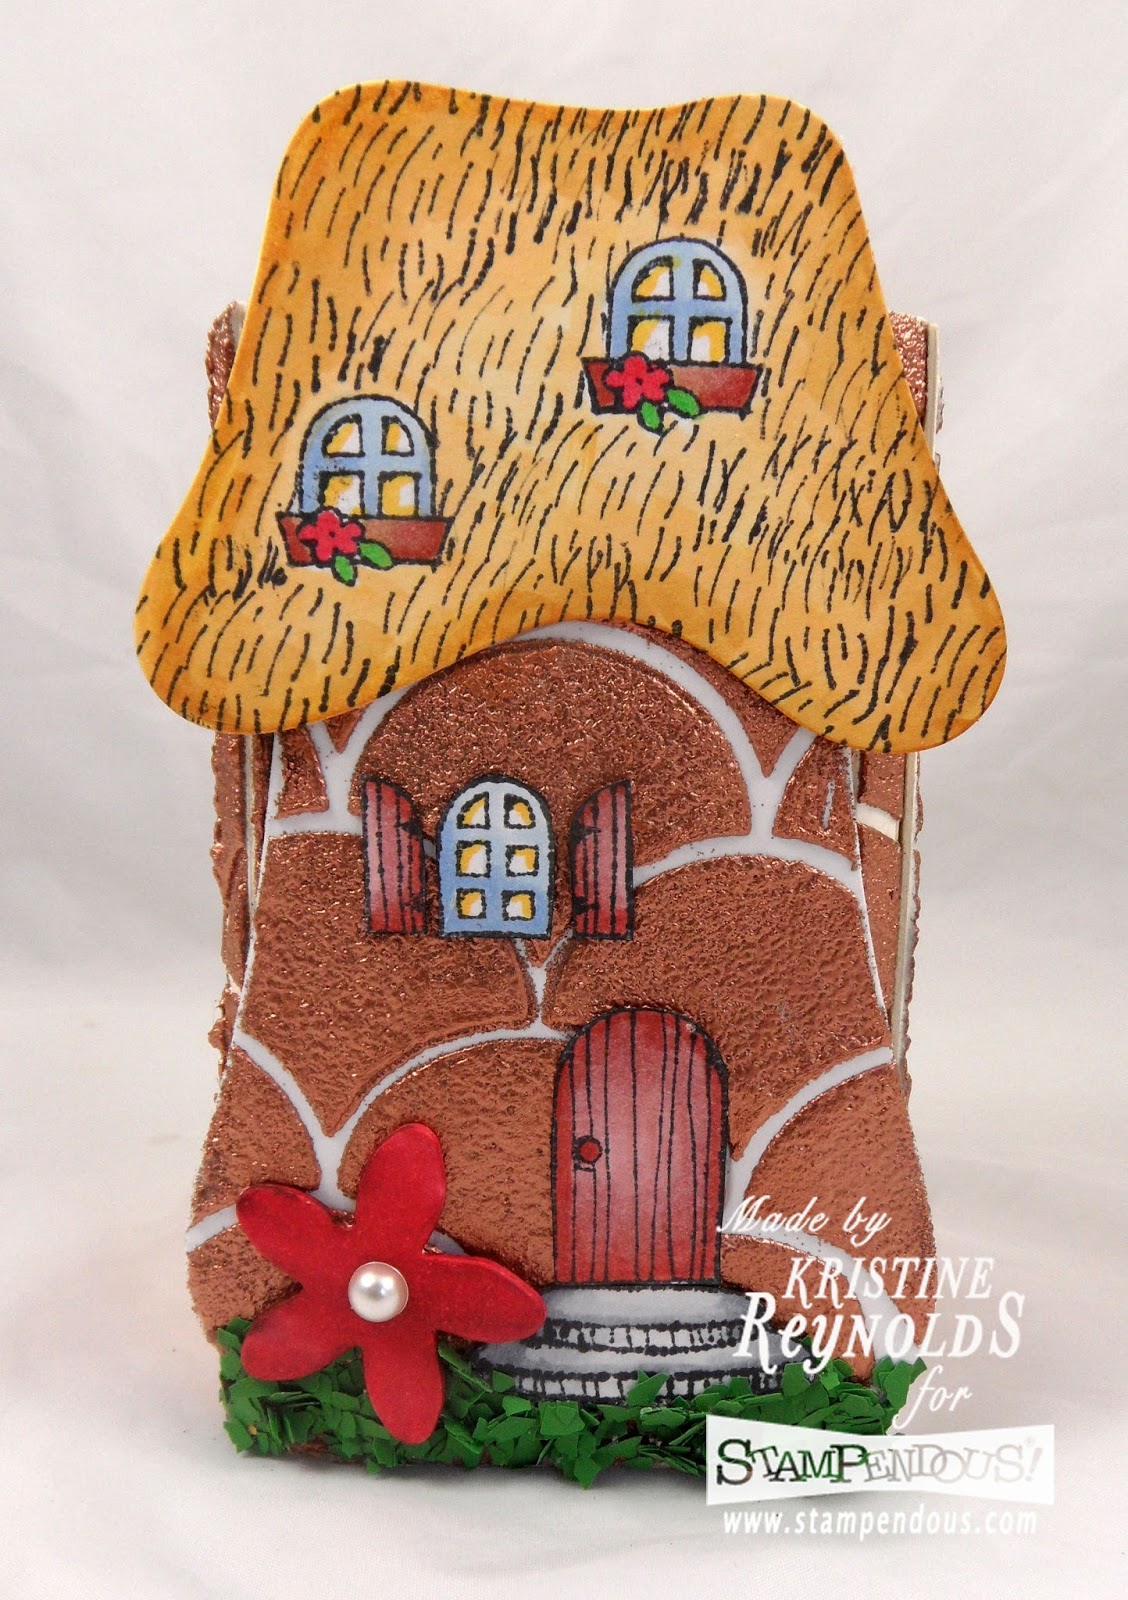
Today I have made a fun mushroom pencil holder for my project.


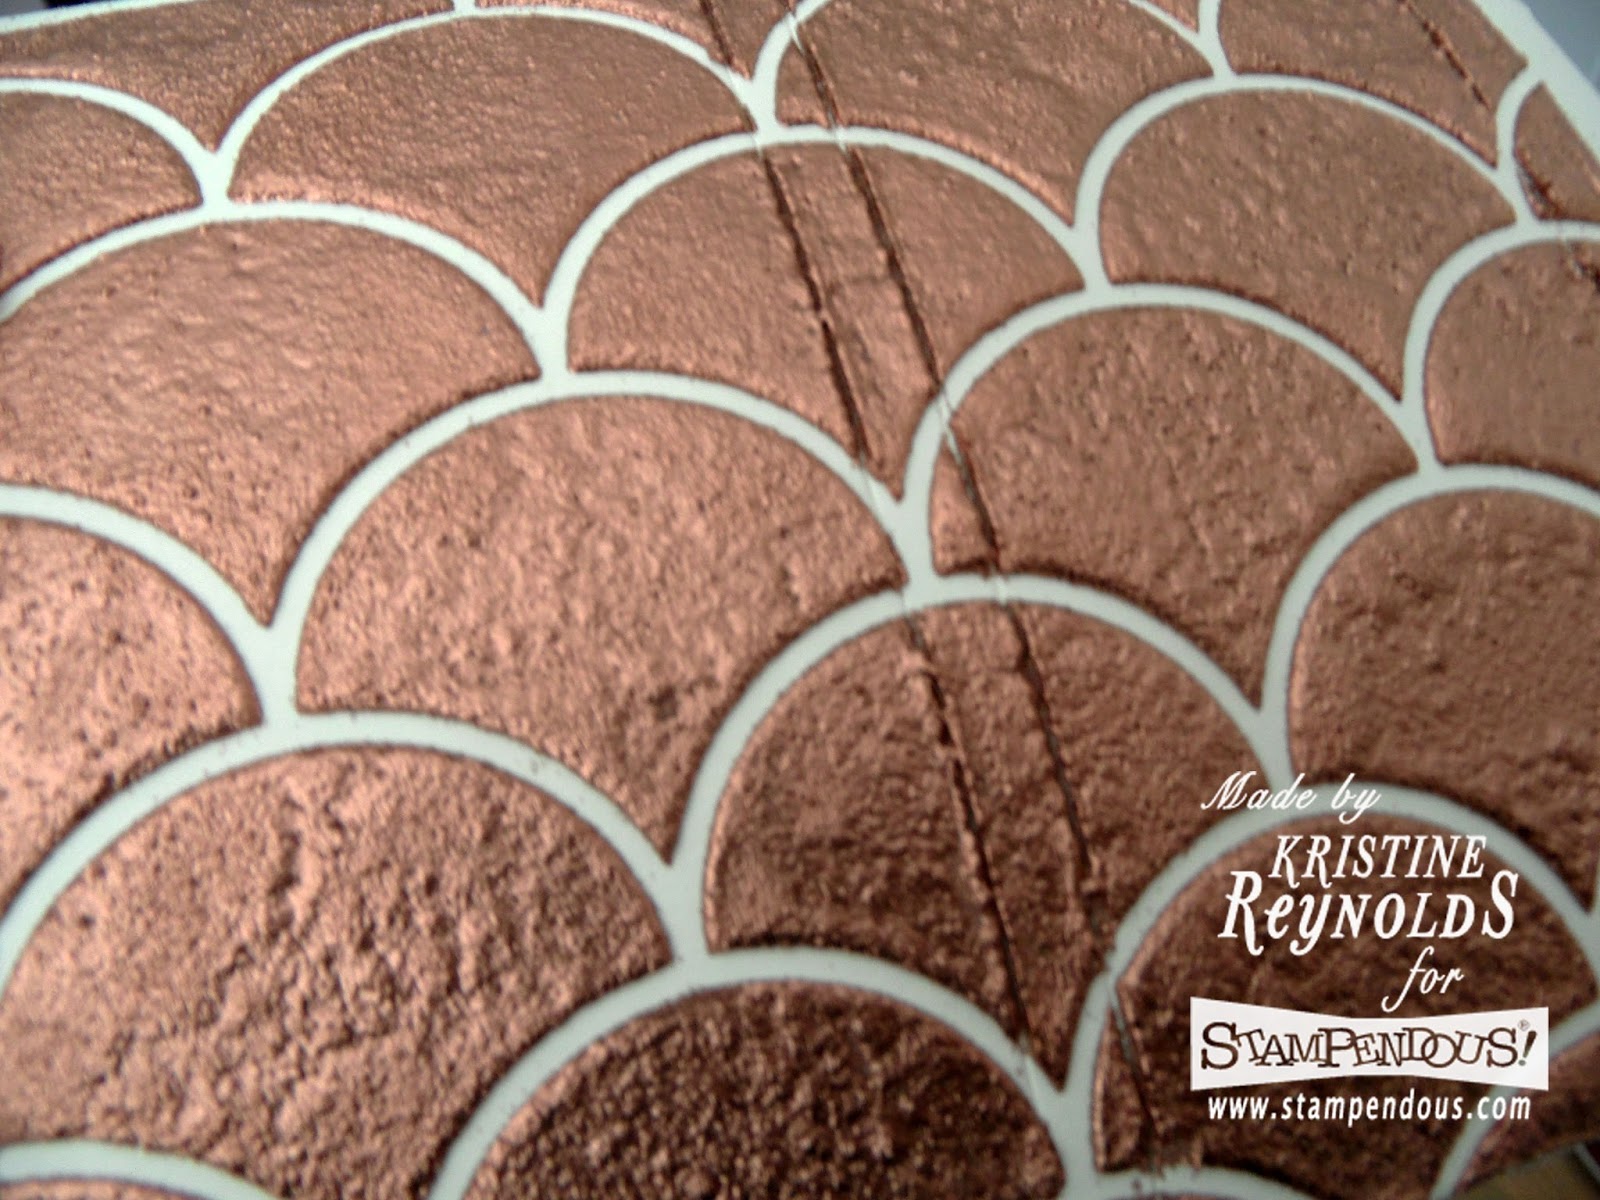
To create the canister base I started by stenciling the Large Scales Stencil on the die cut panels with Regular embossing paste.


I used my paper piercer to score the paste on the scored lines.


I covered the wet paste with embossing powder and shook the excess back into the bottle.


Then I heated it until it melted.


I repeated this process on the bottom of the mushroom that I die cut out of cardstock.


I die cut the top part of the Cottage Home mushroom out of white cardstock and stamped the details on to it.


I folded the panels and adhered the edges to create the canister.


After I colored everything I adhered it to the canister.


Now it sits on my craft table with my colored pencils in it!


And...there are prizes!!!


Go to the
for all the rules and to get the links to more fun creations!

Thanks for stopping by!

Kristine


Sunday, February 14, 2016

Together

Happy Valentines Day!

I have a sweet card to share with you that is perfect for today.


To create this card I started with a 4 1/4" x 5 1/2" card base and stamped the sentiment on the bottom right corner. 

The I adhered a 1 1/4" x 5 1/2" strip of teal paper to the card front with Scrap Happy Glue.


Then I adhered a 3" x 2 1/2" panel of patterned owl paper to the card with Scrap Happy Glue.


I added Queen & Co. red and yellow pearls.


I used my Spellbinders Classic circle dies to cut a circle out of white cardstock and a circle out of orange cardstock.

Then I stamped the owl images and colored them with Tombow USA pencils.


A simple card that has that "WOW factor!


Supplies:
Ink:  Memento Black Tuxedo Ink, Tombow USA recycled colored pencils
Adhesives: The Rubber Cafe'-Scrap Happy Glue
Embellishments:  Queen & Co. yellow and red  pearls

Friday, February 12, 2016

Batik Resist

This week the Stampendous design team are all sharing wonderful embossed projects!

Fran Seiford, the owner of Stampendous, created an awesome new book, 
It is full of a bunch of fabulous, creative ways to use all of the fantastic embossing powders available from Stampendous!


For my card today, I used the "K" technique that is on pages 30 and 31.


Here is a closer look at that amazing embossing!

The image is Wild Roses.


Pick up this awesome book so that you can learn all about this amazing technique as well as 25 others!

Hop on over to the Stampendous Blog to see who else is sharing their embossing projects today!

Thanks for stopping by!

Kristine

Wednesday, February 10, 2016

Molten Magic

This week the Stampendous design team are all sharing wonderful embossed projects!

Fran Seiford, the owner of Stampendous, created an awesome new book, 
It is full of a bunch of fabulous, creative ways to use all of the fantastic embossing powders available from Stampendous!


For my card today, I used the "P" technique that is on pages 38 and 39.


Here is a closer look at that amazing embossing!


The sentiment is Celebrate Birthday.


I also used Regular Embossing Paste and Aged Rose Embossing Enamel...but that's all the info you get on how to create this fabulous birthday card.

Pick up this awesome book so that you can learn all about this amazing technique as well as 25 others!

Hop on over to the Stampendous Blog to see who else is sharing their embossing projects today!

Thanks for stopping by!

Kristine