Showing posts with label summer. Show all posts

Monday, September 30, 2019

Life's a Beach

Sharing another card that I made with the 3D drop in die.
I  also used Corgis2stamp and Stephiedoll2.

As cute as the front is....wait for it.....


WOW!

The inside is way more fun!
The surf board and the ball are from the Summer4fun set.


Just think of all the fun things you can create in the inside of your cards.

I just love how creative it makes me look!

Thanks for stopping by!

Kristine


Monday, September 16, 2019

Whaley Good Birthday

The Stamps of life's new 3D Pop Up Drop in dies make it easy to create amazing insides to your cards.

For my card today I made a fun birthday card...looks plain on the outside...


But...when you open it up, its lots of fun!
Love all the fun options with these pop ups dies.


Check out the gallery to see some more great ideas as well as the other die that comes with the set.

Thanks for stopping by!

Kristine

Wednesday, August 2, 2017

Make it Last

Today I have another fun vacation themed card to share with you.

This is Whisper Friends Camera Girl by Pink Your Life.


I colored the image with my Prisma Pencils and blended with gamsol and blending stumps.
I created the clouds by sponging ink on the paper and using my Picasso Shield.


All the girls on the team are sharing their vacation cards this week so check out the
 Stampendous Blog for inspiration and links to more fun projects!

Thanks for Stopping by today!

Kristine


Monday, July 31, 2017

Travelling with Friends

It's the end of July which means it is time to start thinking about those final vacations and road trips before the kids are back to school!

To celebrate I am sharing a fun card that I created with the Whisper Friends Van from PYL.


I colored the image with my Prisma color pencils and then I painted the background with my Twinkling H20's.


The Ribbon is May Arts.


You can see more great inspiration on the Stampendous Blog!

Thanks for stopping by!

Kristine


Tuesday, July 25, 2017

More fun with new dies

Hello TSOL Fans!
I have a couple of cards to share today using stamps and dies from The Stamps of Life!


I made this card with Island2visit and the new matching dies.


For my second card I used new dies that match the Summer4fun stamp set!

All the balls were colored with Markers.


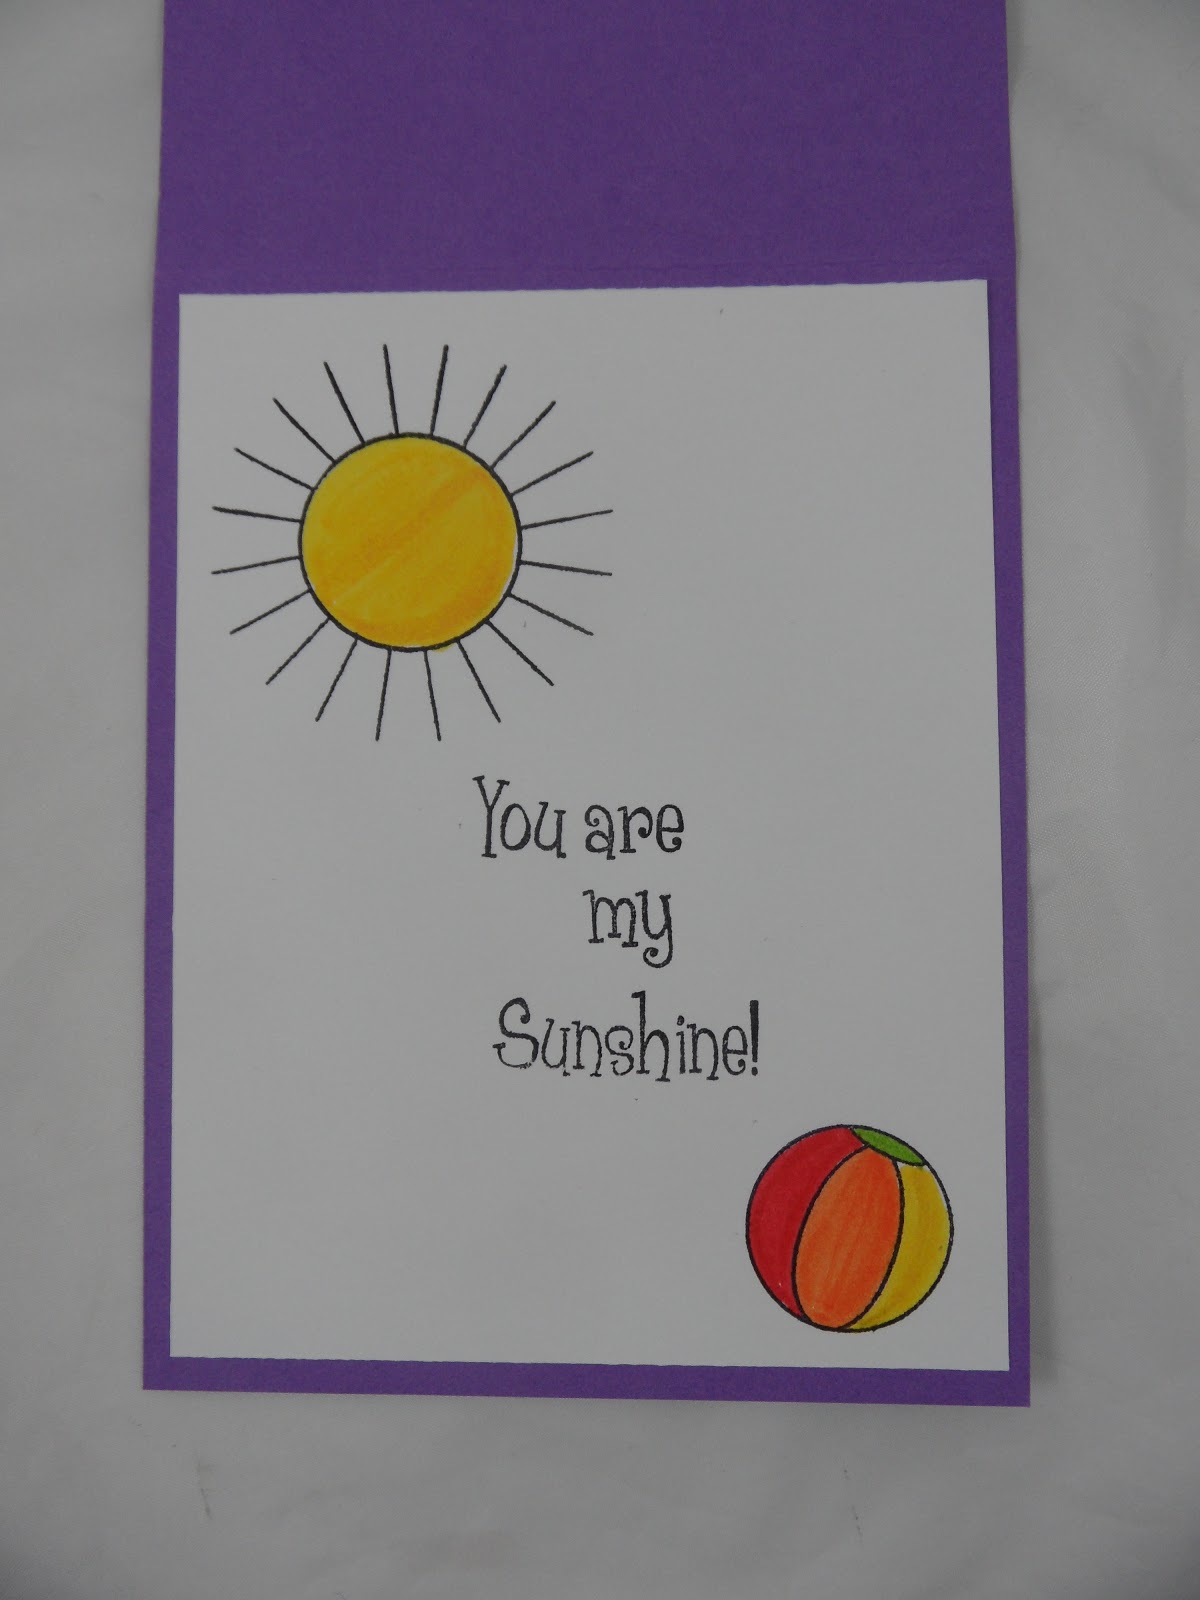
I did the inside too!


Check out the gallery for lot's of inspiration!!

Thanks for stopping by!

Kristine


Thursday, July 20, 2017

Awesome Die Release!

I just love the 20th of the month because Stephanie releases cool dies from The Stamps of Life!

Today she released two new die sets that match previously released stamp sets.

I made this card with Island2visit and the new matching dies.


And...if that wasn't enough to make you giddy....she also released new dies that match the Summer4fun stamp set!


I used the Basic Step Up Card Die too!

Check out the gallery for lot's of inspiration!!

Thanks for stopping by!

Kristine


Saturday, July 1, 2017

C$C392: Hop a Park Day

I have two reasons to celebrate today!

The first reason is that the Crazy4Challenges blog invited me back to play for the month of July!
I guess I didn't mess up to badly in April ;)

Today is "Hop a Park Day" so the challenge is to create  scene or something that you might see in a park.

The challenge worked perfectly for my second reason to celebrate!

Today The Stamps of Life released a new stamp set called Rainbow2stamp.
It's the perfect back drop for my challenge card!


I used the Square Stand up die for this card.

This is how it looks when it's folded up and ready to mail.


In addition to the new rainbow2stamp set, I used bicycle2stamp and the matching dies.
I also used the grass die.


Make sure you stop by the Crazy4Challenges blog to see that the rest of the team came up with.

And...check out the Stamps of Life Gallery for more great rainbow inspiration.

Thanks for stopping by!

Kristine

Wednesday, June 21, 2017

Butterfly Ride

It is hot as heck this week in California and the Stampendous team are trying to keep cool!

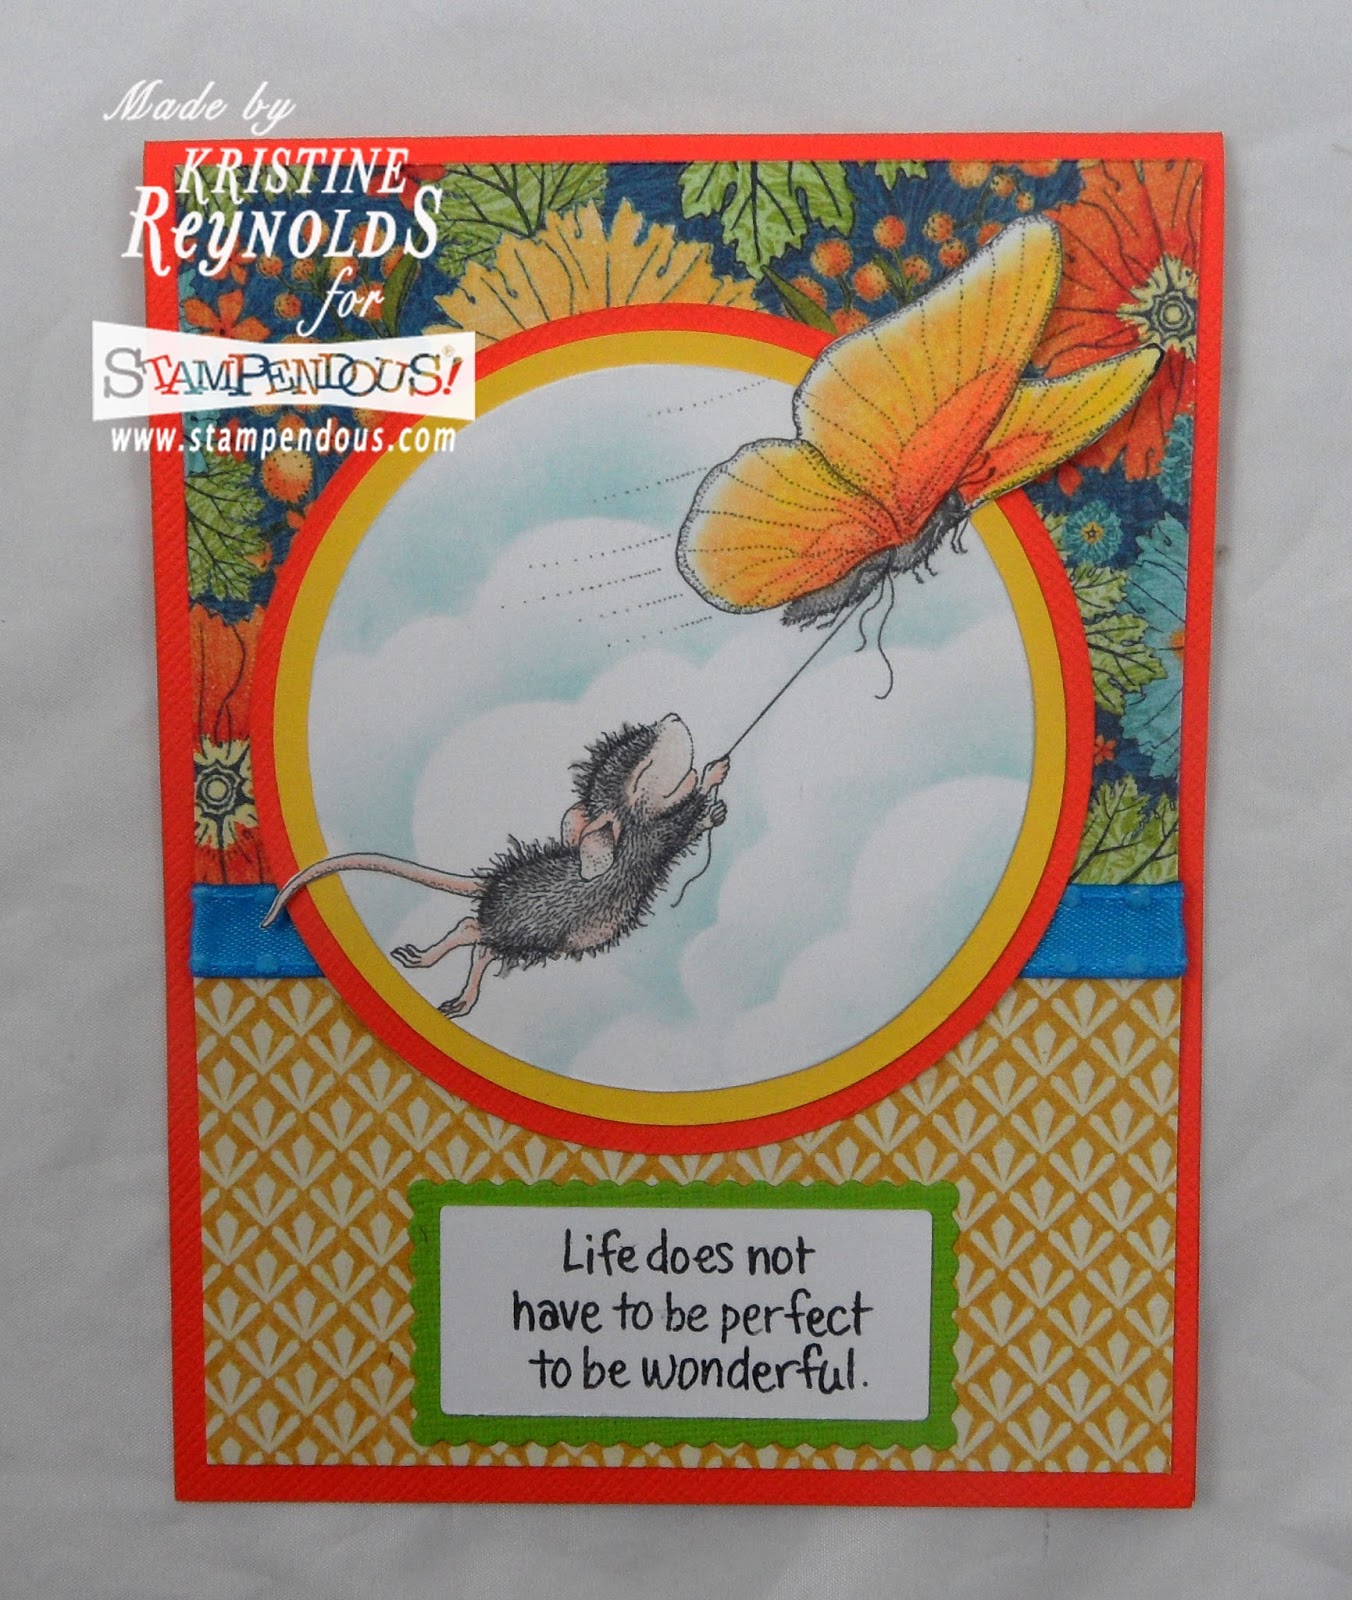
For my card today I used Butterfly Ride by House Mouse Designs.

This cutie pie looks super cool!


INSTRUCTIONS
  1. Fold an 11 x 4 1/4" panel of cardstock in half to create a card base.
  2. Cut a 4" x 5 1/4" of patterned paper apart and adhere to the card.
  3. Add ribbon.
  4. Stamp the image on a white panel and color with pencils.
  5. Use the picaso stencil to sponge clouds on the image.
  6. Cut the image into a circle panel keeping the butterfly and tail "out of the circle".
  7. Back the image circle with a larger yellow circle panel and then a larger orange circle panel.
  8. Adhere to card.
  9. Stamp sentiment on a white panel with black ink.
  10. Back the panel with a slightly larger green panel and adhere to the card.
Check out more inspiration on The Stampendous Blog.

Thanks for stopping by!

Kristine

Monday, June 19, 2017

Enjoy Your Day!

It's summer time for sure!

Just got back from NY and am enjoying my California summer time weather 100% more than last weeks NY summer weather...maybe it's the lack of 100% humidity!

Regardless of your summer weather, if you are having warm temps a frozen Popsicle will make it better!  Just look how much fun these little mice are having with theirs.


This image is Ice Pop Treat by House Mouse Designs.

I colored the image with Prisma colored pencils and blended with gamsol and blending stumps.


The background was created with regular embossing paste and the Paint Splats stencil.
Once dry I sponged pink ink on the design.

The ribbon is from Creative Impressions.
The sentiment is Enjoy your Day.


Check out the Stampendous Blog for more Summer Inspiration!

Thanks for stopping by!

Kristine

Monday, May 22, 2017

Beach Girl

Happy Monday!

I hope your had a great weekend!
The Stampendous team is still celebrating the sea but this week we are celebrating all tha happens above the sea.  

My project features new Pink Your Life Stamps, Whisper Friends Beach Friends perfectly clear stamp set.


I LOVE how this turned out...exactly like it was in my head and that doesn't happen very often!

I stenciled the Waves on light blue cardstock with regular embossing paste.
After it dried I spread embossing paste across the bottom and covered it with Golden Sand embossing powder.  I heated the powder until it melted.

then i cut the top of the panel off trimming close to the waves and adhered it to the card.


I stamped all the images on white cardstock with black ink and colored with Prisma colored pencils.


Here's a couple more fun projects:

Stampendous Blog

Alison Heikkila


Thanks so much for stopping by!

Kristine

Monday, May 15, 2017

Nautical Treasures

Stampendous released a bunch of great ocean themed stamps in the April catalog and the design team will be sharing some of our projects all this week.

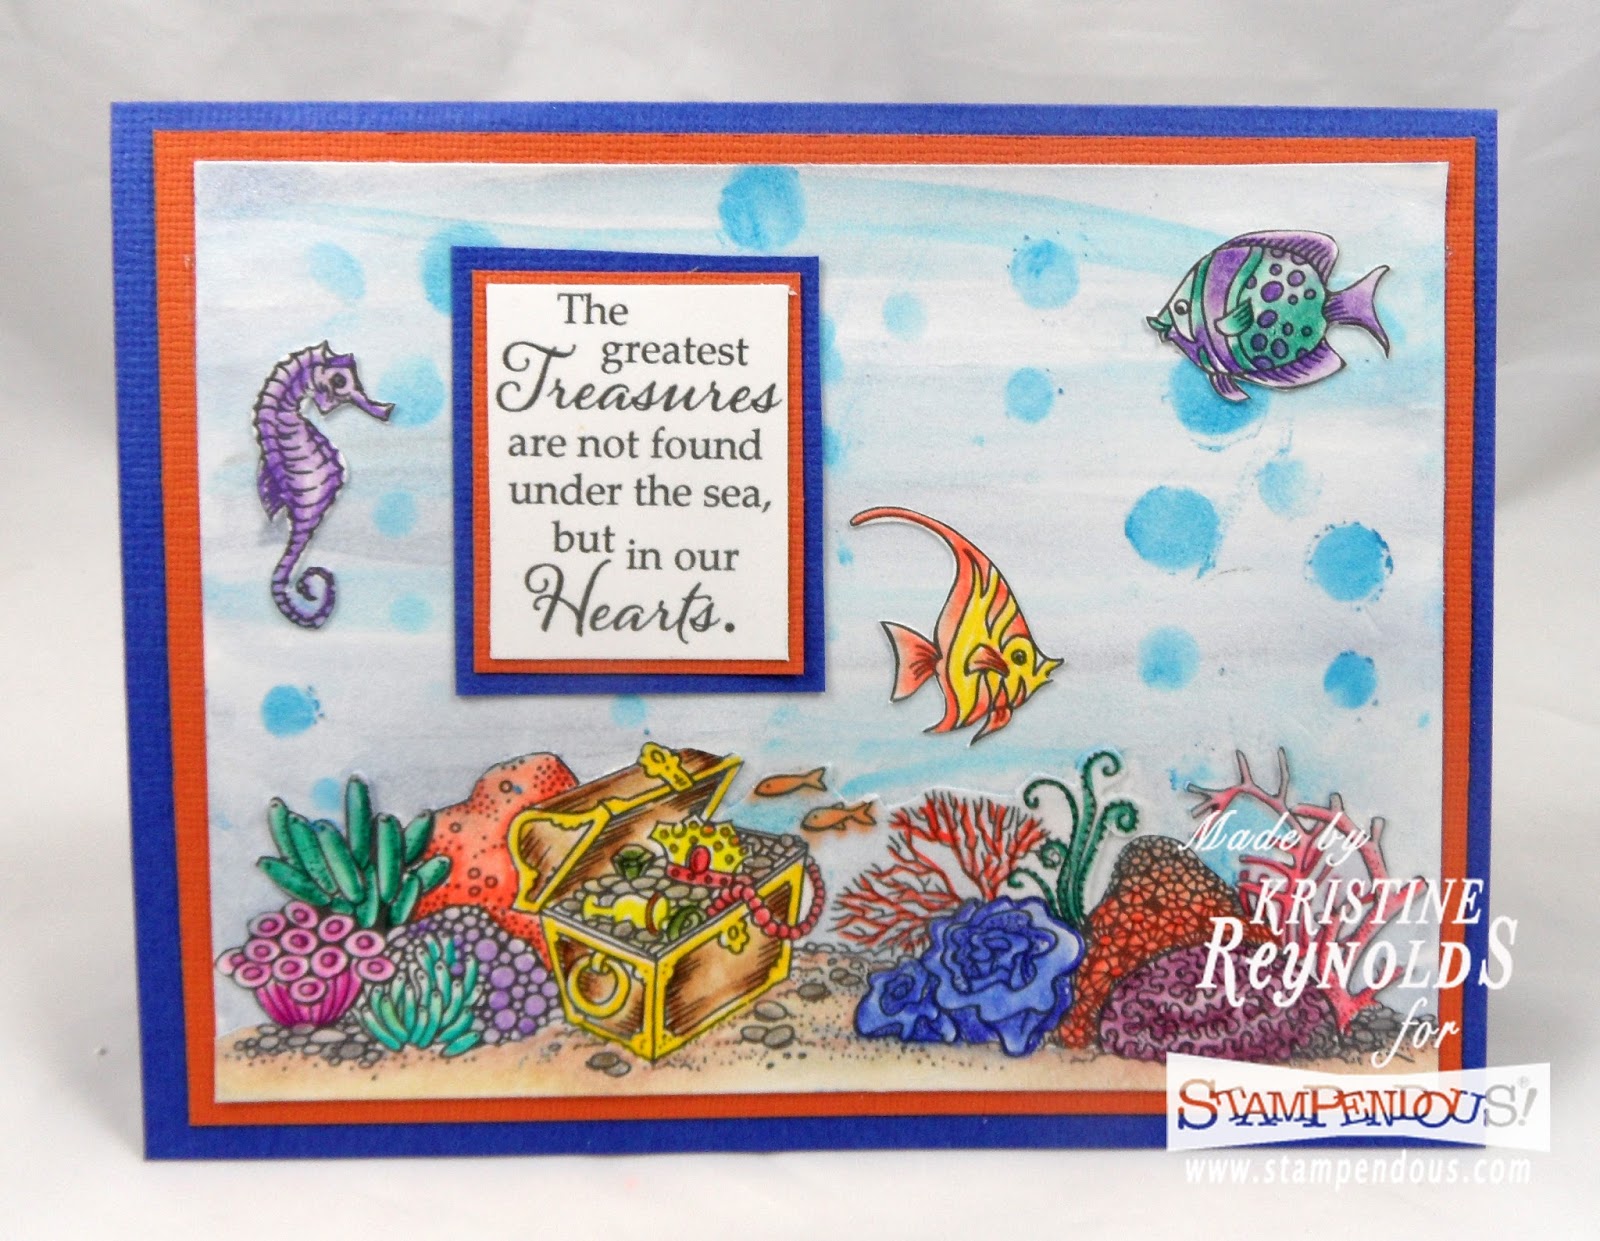
My first project was created using the Nautical Treasures perfectly clear stamp set.


To create the background I painted a panel of white cardstock with Twinkling H2O paint
After it dried I used the Graduated Dot stencil as a guide and rubbed gelato through the holes.


The image is colored with Prisma colored pencils and blended with gamsol.
The sentiment is one of the ones from the set.


Check out these blogs for more Ocean inspired projects:

Stampendous BlogAlison HeikkilaLouise Healy

Katy Leitch


Thanks for stopping by!

Kristine
Friday, May 27, 2016

A Million Little Things

Today I have the perfect card to start off the three day weekend.
I am sure that many of us will be spending some time at the beach like this adorable Mouse!

Stampendous has a bunch of terrific summer House Mouse Design images available for your summer stamping fun!

This is 


What Did I Use?


How Did I Make it?
Directions:
1. Fold an 11" x 5 1/2" panel of Caribbean Sea Cardstock in half to create a 5 1/2" square card
2. Adhere a 5 1/4" square panel of white cardstock to the card
3. Adhere a 5 1/4" x 3" panel of patterned paper to the card
4. Stamp image on a white die cut panel and color with pencils
5. Back image panel with a slightly larger die cut panel of colored cork and adhere to card
6. Stamp sentiment on a white die cut panel and then back with a larger die cut panel before adhering to card
7. Install brads


For more links to more "Mice" cards check out these blogs:
Kristine Reynolds (your are here!!!)
Lea Fritts (Thursday Post)

Thanks for stopping by!

Kristine

Wednesday, May 25, 2016

Sandcastle Fun

These little mice look like they are having so much fun building this sandcastle!
I just love this adorable image by House Mouse Designs.

It's called Castle Construction and is available from Stampendous!


What did I use?


How did I make it?


You can see more summer fun with the mice on the 

Thanks for stopping by!

Kristine